|
|
|
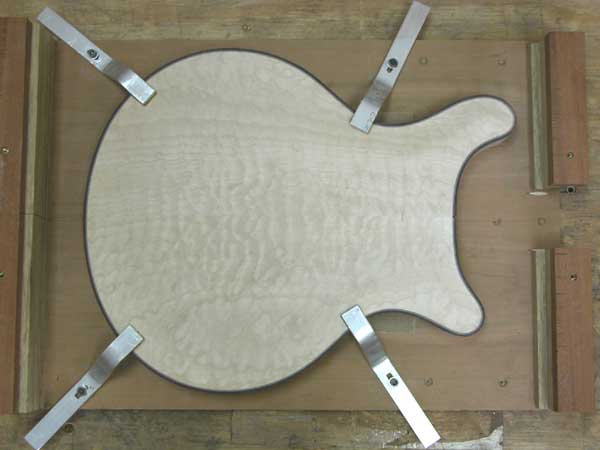
Neck Pocket Jig (ver.2)Here is version 2 of the neck pocket jig that I use to get perfect neck pockets on my guitars. The materials are basic, a piece of plywood approx 24" x 24", 8 threaded inserts with set screws to match, 4 strips of 1/4" aluminum 3/4" x 6" long, some cork (leather, etc), and some scrap lumber for the straight edges and end block. This is a fairly easy jig to make but it can be used for a number of different things. I still find more that I use it for. This page demonstrates it's use through a series of pictures and text that walks through a typical neck route. The jig is made from a single piece of plywood. Make this large enough for the guitar sizes you work with. Not too visible in this picture is the center line that divides that base. This line is used to align everything. 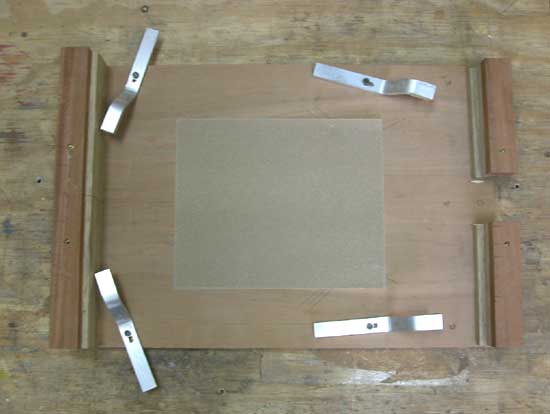
| |
|
There are pieces of wood at the ends of the jig that serve to prop up the straight edges. These need to be at a heaight that sets your neck angle, in this case 3 degrees. 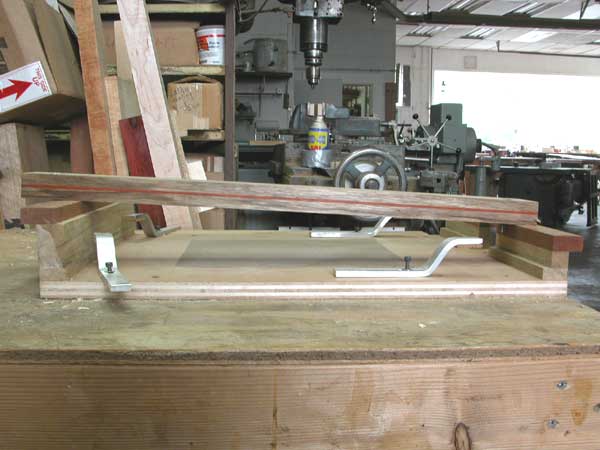
| |
|
I used a piece of sandpaper as a gripping surface to provide some friction when the guitar bodies are clamped in place. The hold downs are pieces of aluminum with cork on the ends to prevent gouging of the wood. There are thereaded inserts into the plywood base that these screw into. I used hex cap screws for this. 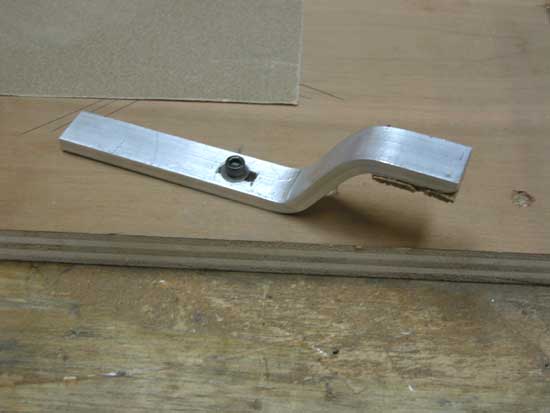
| |
|
Here is a body clamped in place: 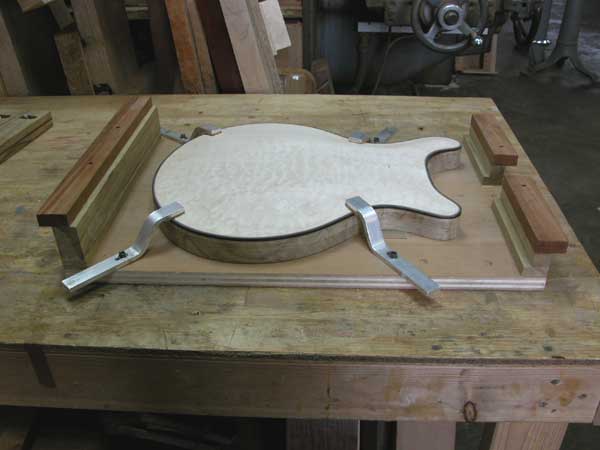
| |
|
The next step is to install the straightedges. These can be any stable material.Here I used some laminates of black limba and padauk. They are straight and true and do not flex under the weight of the router. 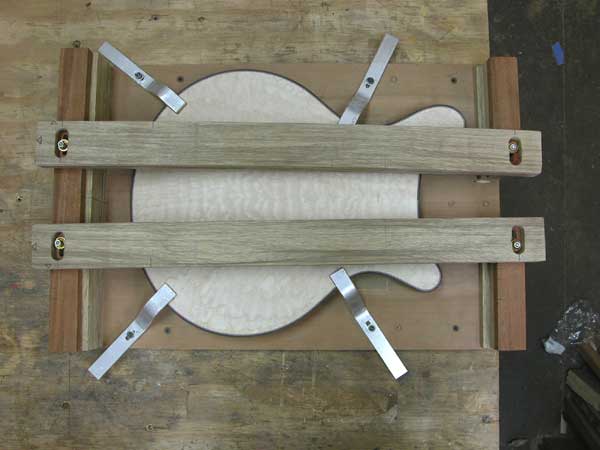
| |
|
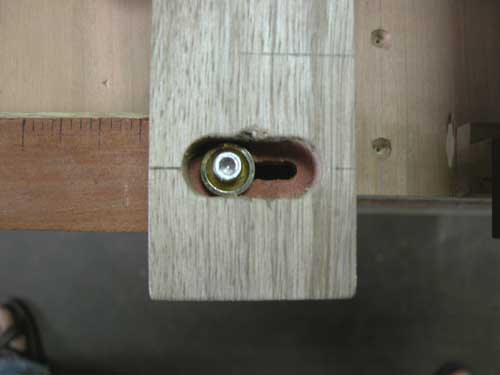
The straight edges are held into place by cap screws that insert into threaded inserts into the end blocks. There are markings on the wood at 1/8" intervals from the center line that help to center the neck in the following steps. 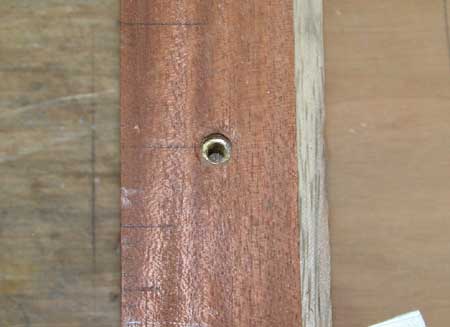
| |
|
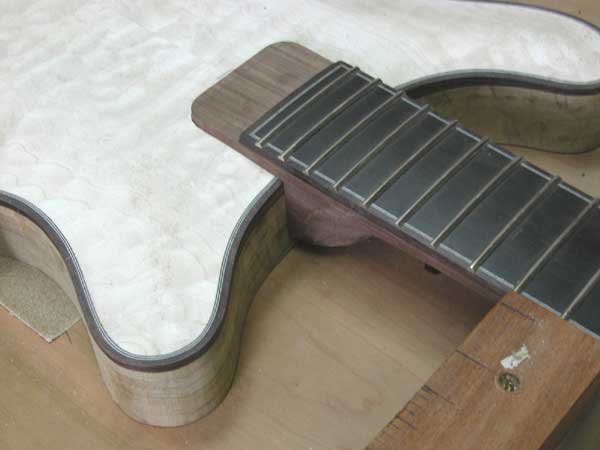
Next the neck is clamped in between the straight edges. This asures a perfect taper and alignment. Measure how far into the body the neck will go and mark it on the straight edge. This will be a reference. Once the neck is clamped firmly into place the straight edges are moved until the neck is centered. This is achieved by measuring the distance from the center line of the body to the edge of the straight edges. It should be equal on each side. Also the center lin on the neck tenon should line up with the center line on the body. 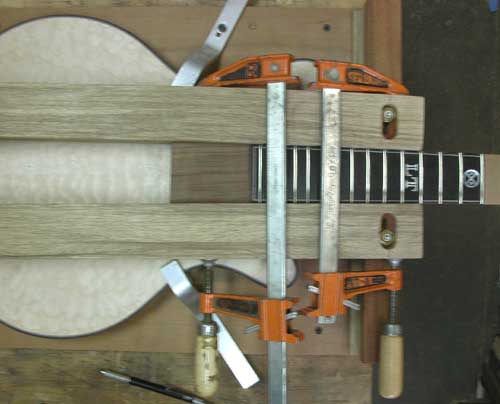
| |
|
Once in place tighten the set screws forthe straight edges and then loosen the clamps and remove the neck. You now have perfectly aligned router guides for your neck. Using the reference mark measure back the distance from the edge of the router base to the ede of the router bit. Make two line on each straight edge back from the reference point. Clamp another smaller straight edge across the main guides at these two lines. This will define the back edge of your neck pocket. 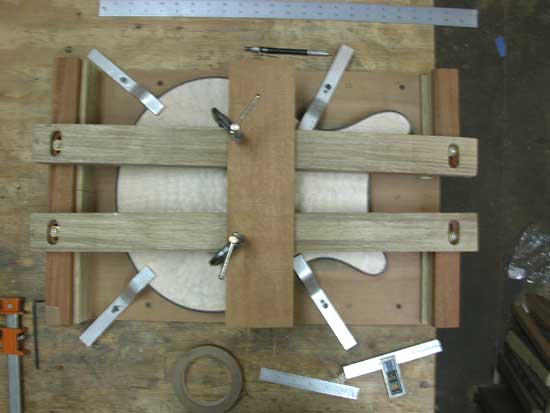
| |
|
Once all the guides are in place I put a couple strips of binding tape on the straight edges where the bearing will ride. This make the cut a tiny bit smaller than we want. The last pass we remove the tape and make a cleanup pass with the router. Set the depth of the router and slowly make your cuts. I like to go in multiple passes of 1/8" to 1/4". Go less if you want but I wouldn't take any more than that. Make sure you are using a sharp bit and a downward shear cutter is best to avoid chipout but a good straight cutter works fine too. 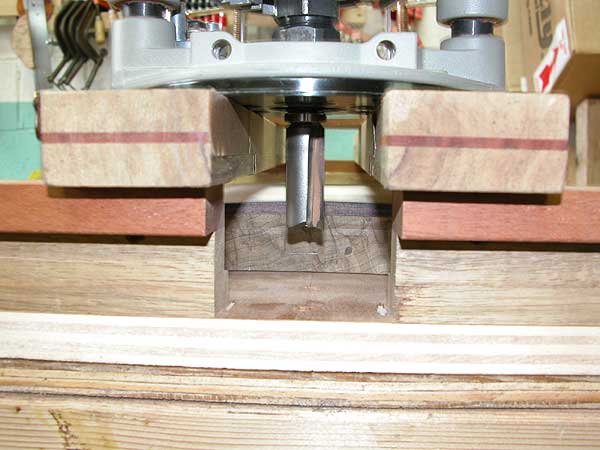
| |
|
Once you make all of your passes you will have a perfect neck pocket that holds your neck very snug. 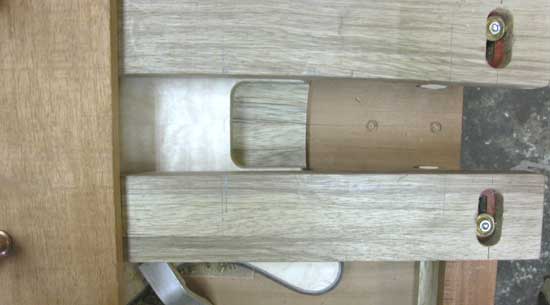
| |
|
It should be necessary to sand the end of the neck slightly for the neck to fit firmly into place. You should need to apply a bit of force to press the neck into place. You should also have no reservations about holding the guitar up by the neck before gluing. It should be that tight. 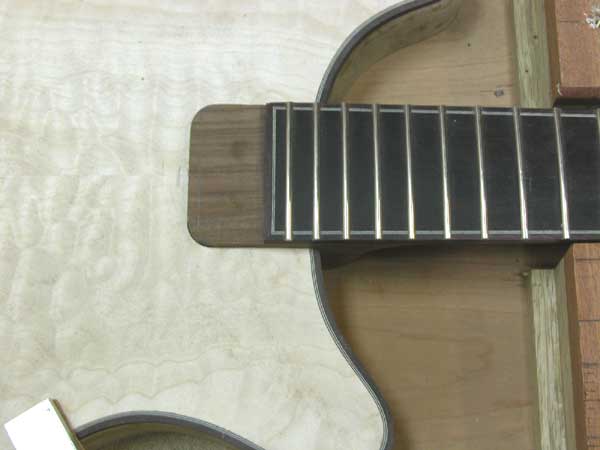
| |
|
Other uses for this jig are many. I also use it to route out my pickup cavities since they are also at the same 3 degree angle. Here is an illustration: 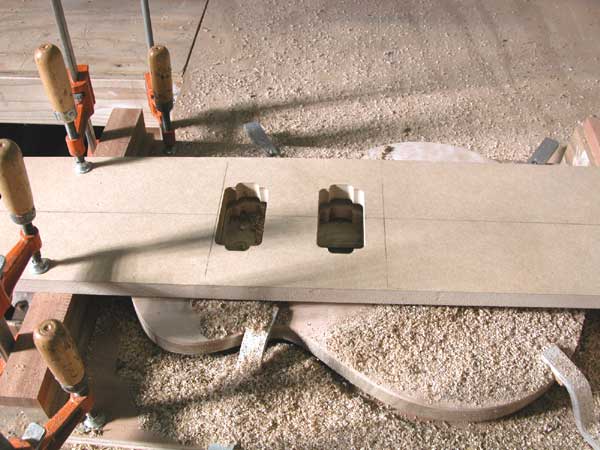
| |
|
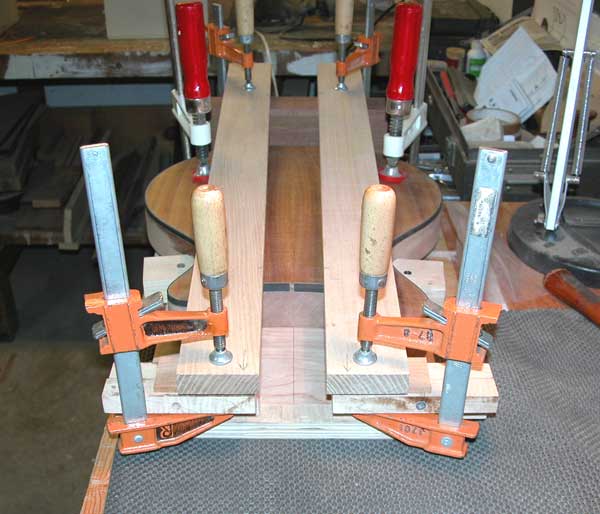
And finally if you want to make this as a prototype first you can use clamps instead of the set screws. I recommend the screws but my first jig of this type was more along these lines: 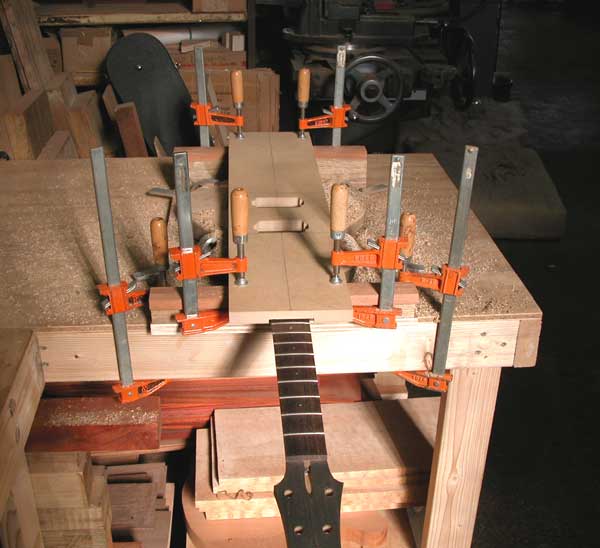
| |
|
The next version of this is in the works and will be made from aluminum with universal adjustments to allow for any neck angle, any body thickness, and any neck tenon length. You can acheive this with the current setup by using shims under the straightedges. Thanks and I hope you find this helpful. | |
|
|
|